
Who doesn’t love a pop up card? I love opening a card and getting that unexpected pop of fun! And the best part is that it is very easy to make a pop up card of your own to give. I know I always say that I have a fun and easy DIY, but this truly is very easy! Honestly, I did not know it was so easy to make pop up cards. Best part is that it is fun to do with your kids. You can make the cards as simple and as intricate as you want-the possibilities are endless! Follow the steps below and you’ll be making your own pop up cards in no time.
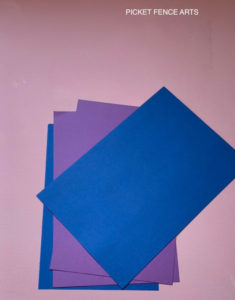
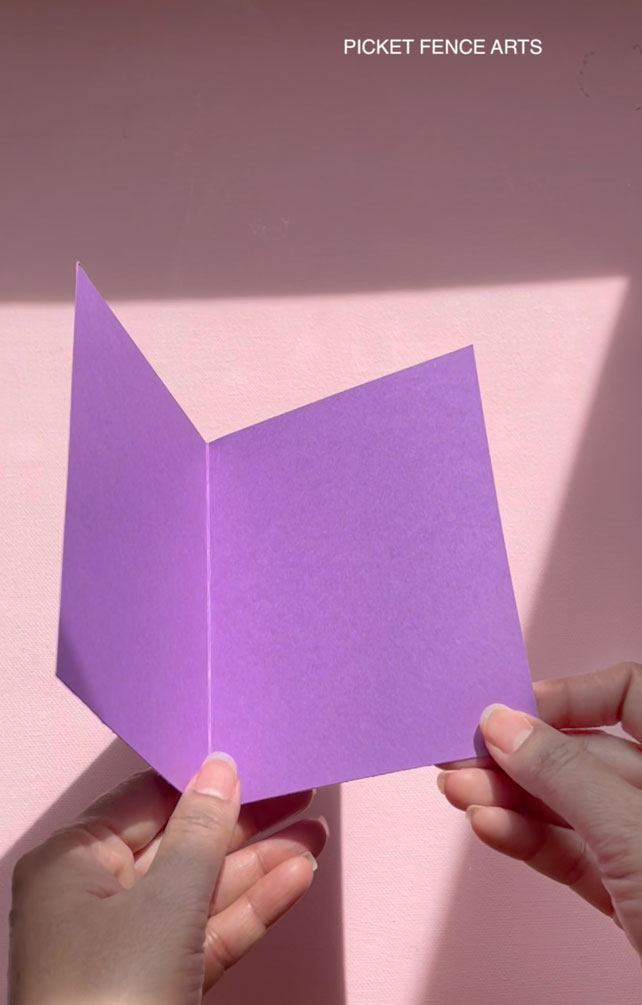
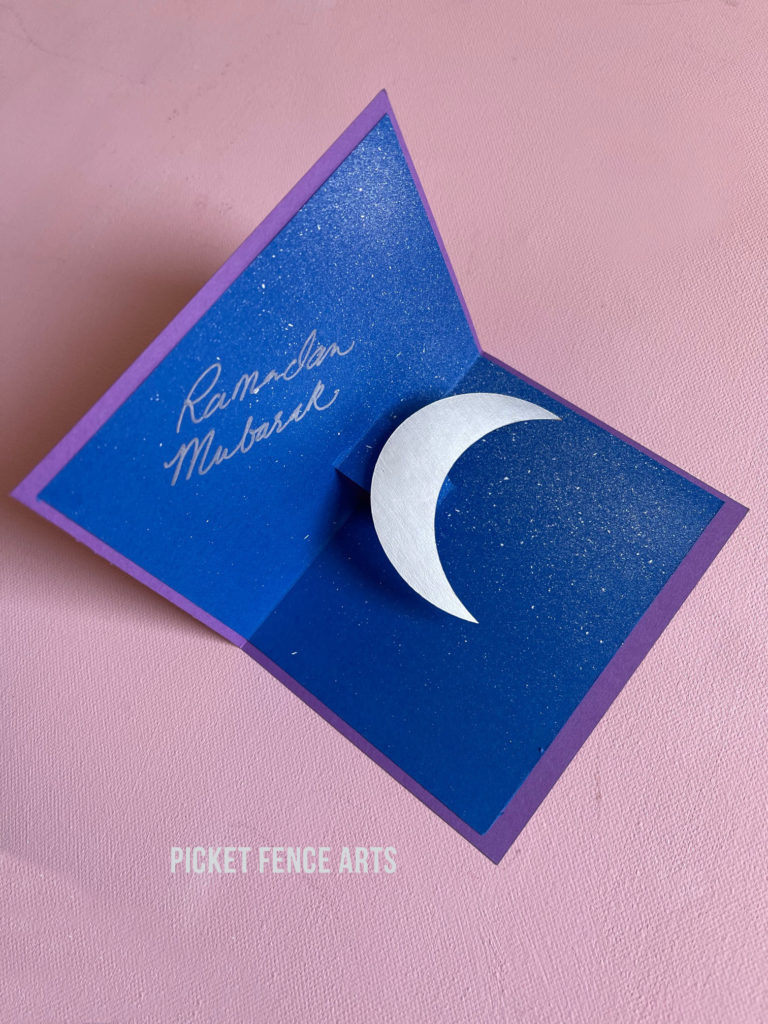
I made “Ramadan Nights” pop cards, so I used a dark blue color that will go on the inside. And I chose purple for the outside because it is a contrasting color. You can choose any colors that you like.
Materials:
-Two sheets of 8.5×11 card stock in contrasting colors
-Gold/Silver card stock
– Scissors
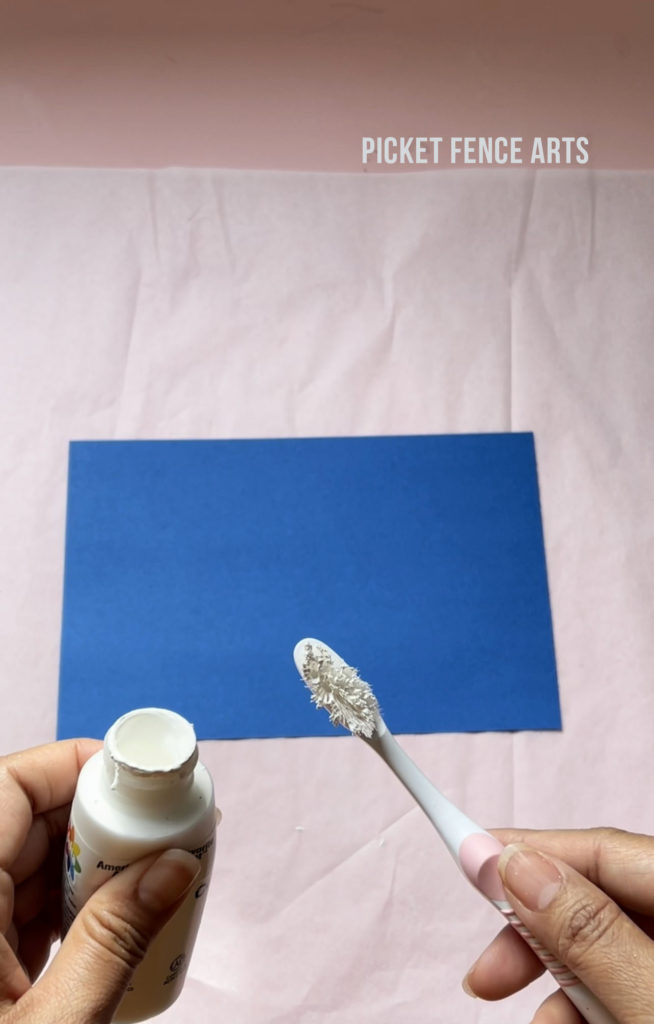
-Craft Paint
-Old toothbrush
-Glue
1. Protect your work space by placing down newspaper or drop cloth, otherwise you might have some paint splatter on your desk 🙂
2. Cut your card stock in half.
3. Lay down your darker card stock down on the surface.
4. Spread a thin layer of craft paint on your toothbrush. If you don’t get a thin layer then you might get some thicker blobs of paint on your paper and depending on your project, that can be just fine.
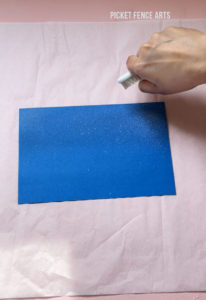
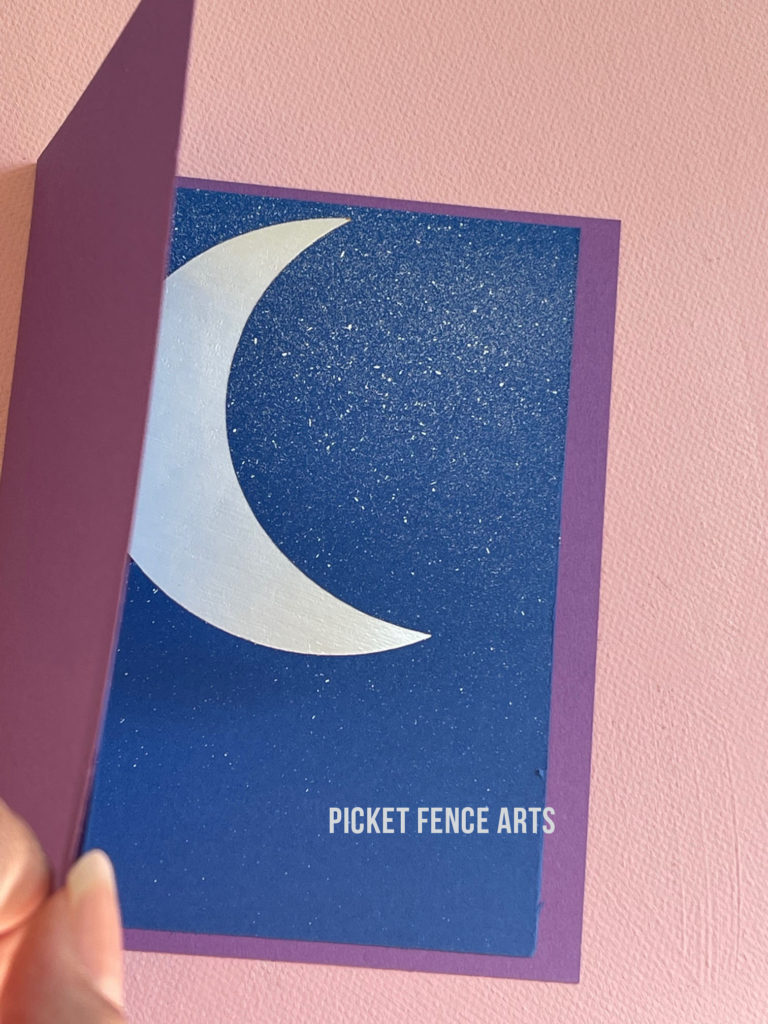
5. With the bristles facing down, flick the bristles with your thumb to splatter the paint on paper. I concentrated more on the upper half section to create the “starry night” sky. You can also use a pencil or a stick to splatter the paint. But I feel like using your fingers gives you more control on where you want the paint to go.
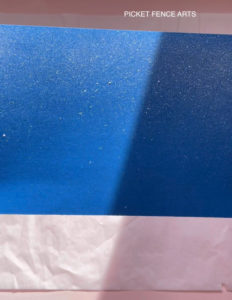
6. You can go over as many times as you like until you are satisfied with the look.
7. Let the paint dry completely.
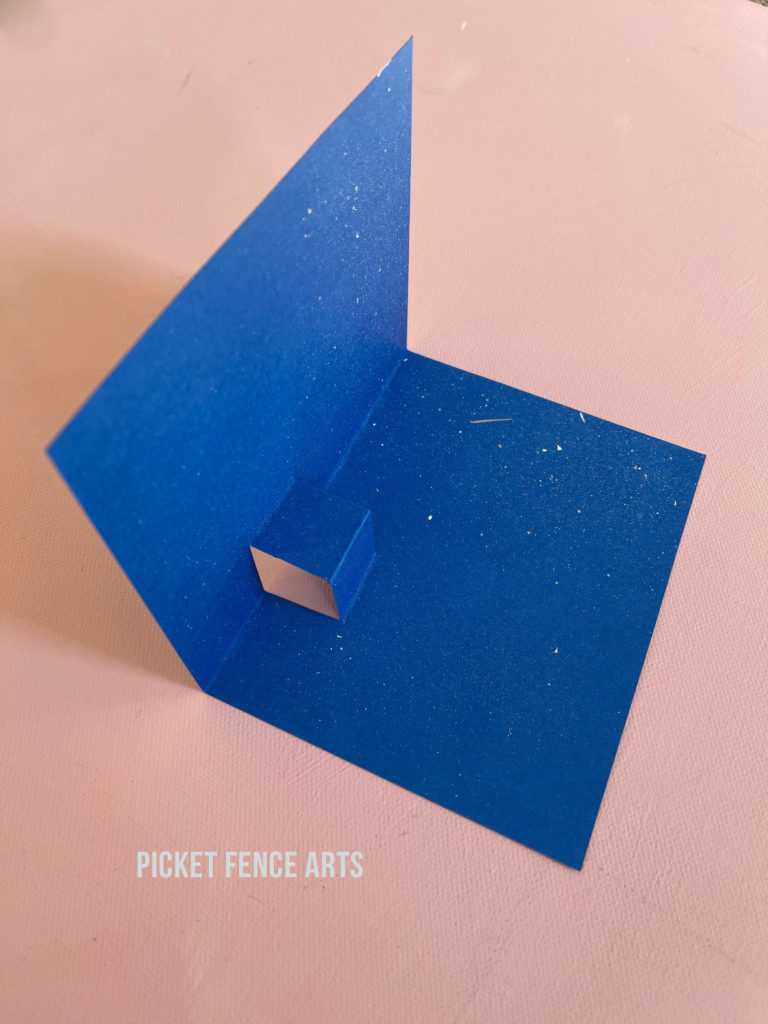
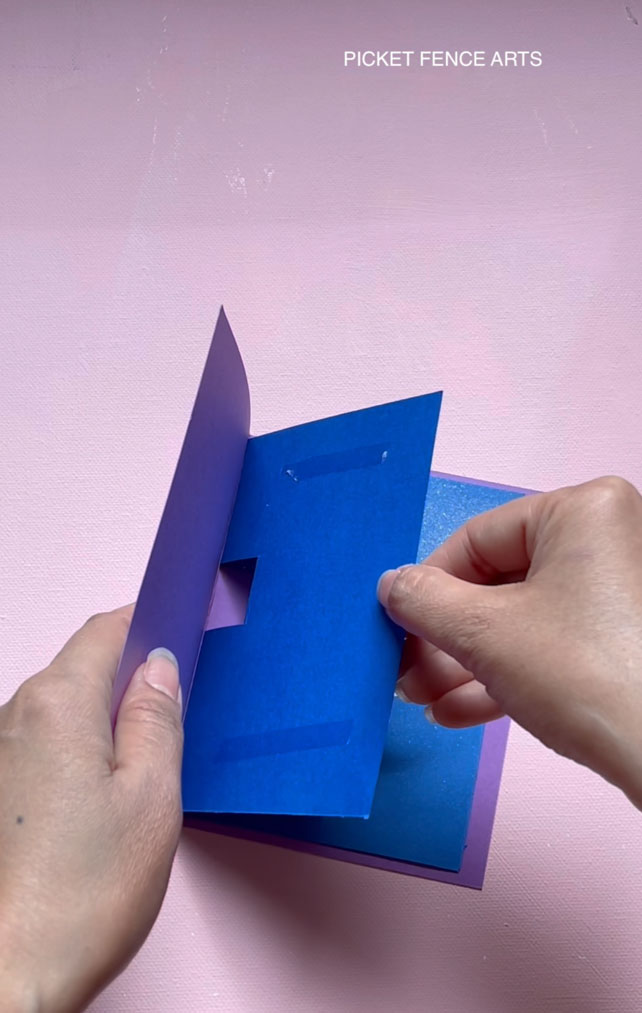
8. Fold the paper in half. Then take your scissors and cut two parallel slits on the folded side of the card, about 0.75 inch apart and about 0.75 inch long (measurements will vary depending on the size of your card).
9. Next, bend the fold forward one time and backward one time to create a nice crease.
10. Open up your card and pop up the cut part towards the opening of the card.
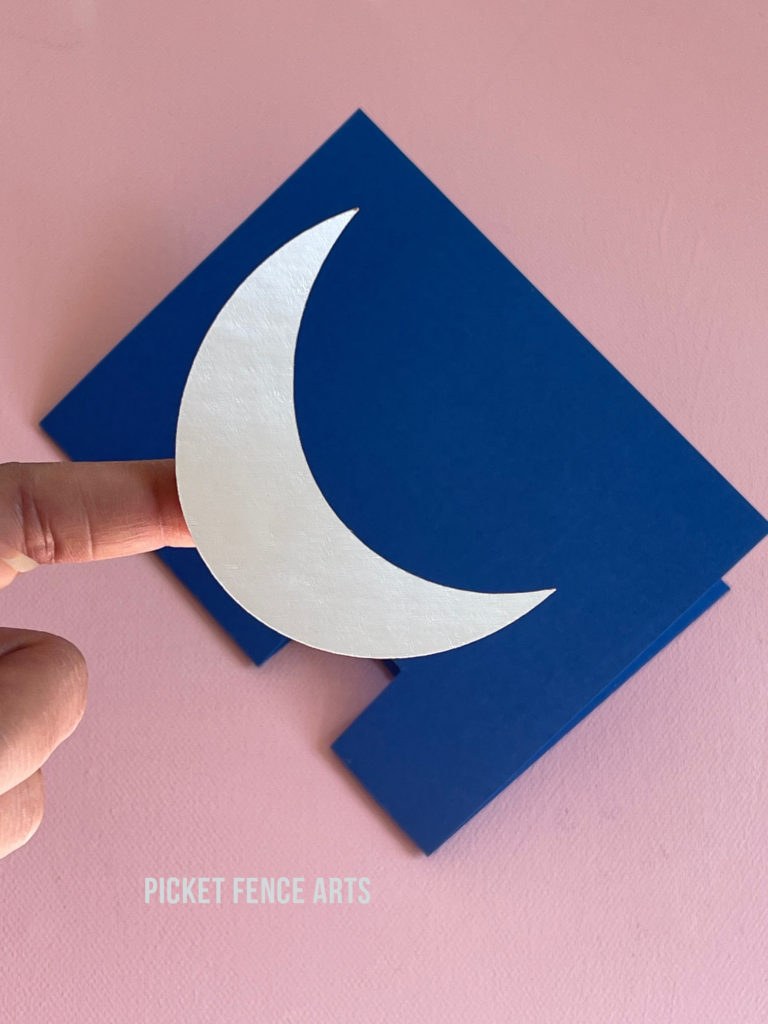
11. Glue the crescent on the “pop up” part of the card. Careful to place it so it does not stick out when the card is closed.
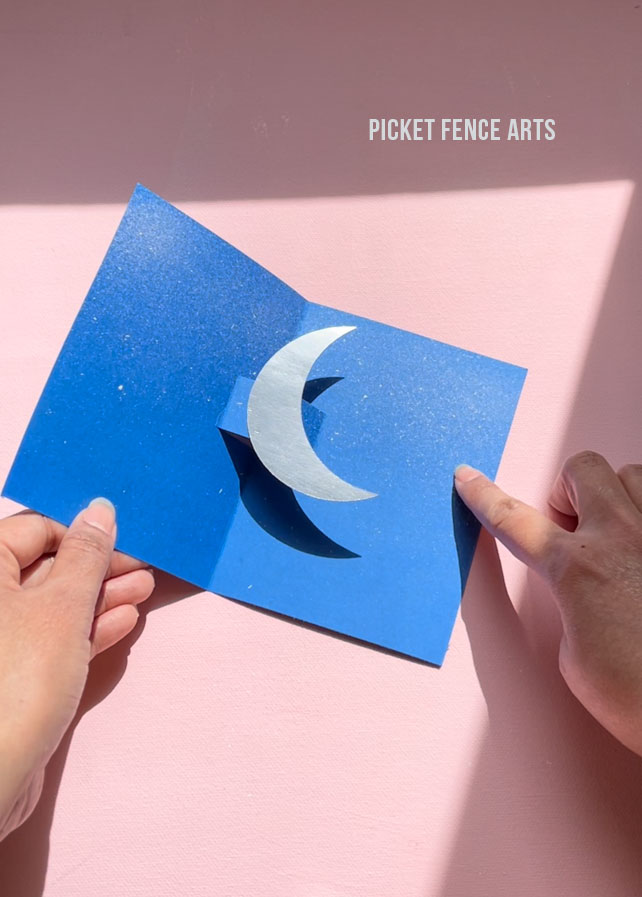
12. Fold the outside piece of card stock in half, and glue the inside piece to cover up the hole created by the “pop up”.
13. And viola, your pop up card is ready!